

How to sell digital downloads with Stripe Checkout
Set up a digital product, choose where to send buyers, and deliver the right files after payment.
Updated
If you want to sell digital downloads like PDFs, videos, templates, or artwork, you need a way to take payment and get the right files to each buyer. In this setup, Stripe Checkout handles payment through your Stripe account. DeliveryKit links that purchase to your files, sends the delivery email, and gives the buyer a place to access their downloads.
This guide covers one-time purchases; DeliveryKit checkout links do not currently support recurring prices. We’ll use Northstar Studio, an example creative shop, to show each step.
1. Decide what the buyer gets
Start with the thing you can actually deliver. For a template pack, that might be a ZIP containing the templates and a short PDF explaining how to use them. Open every file yourself and name it the way you want it to appear in the buyer’s email and download portal.
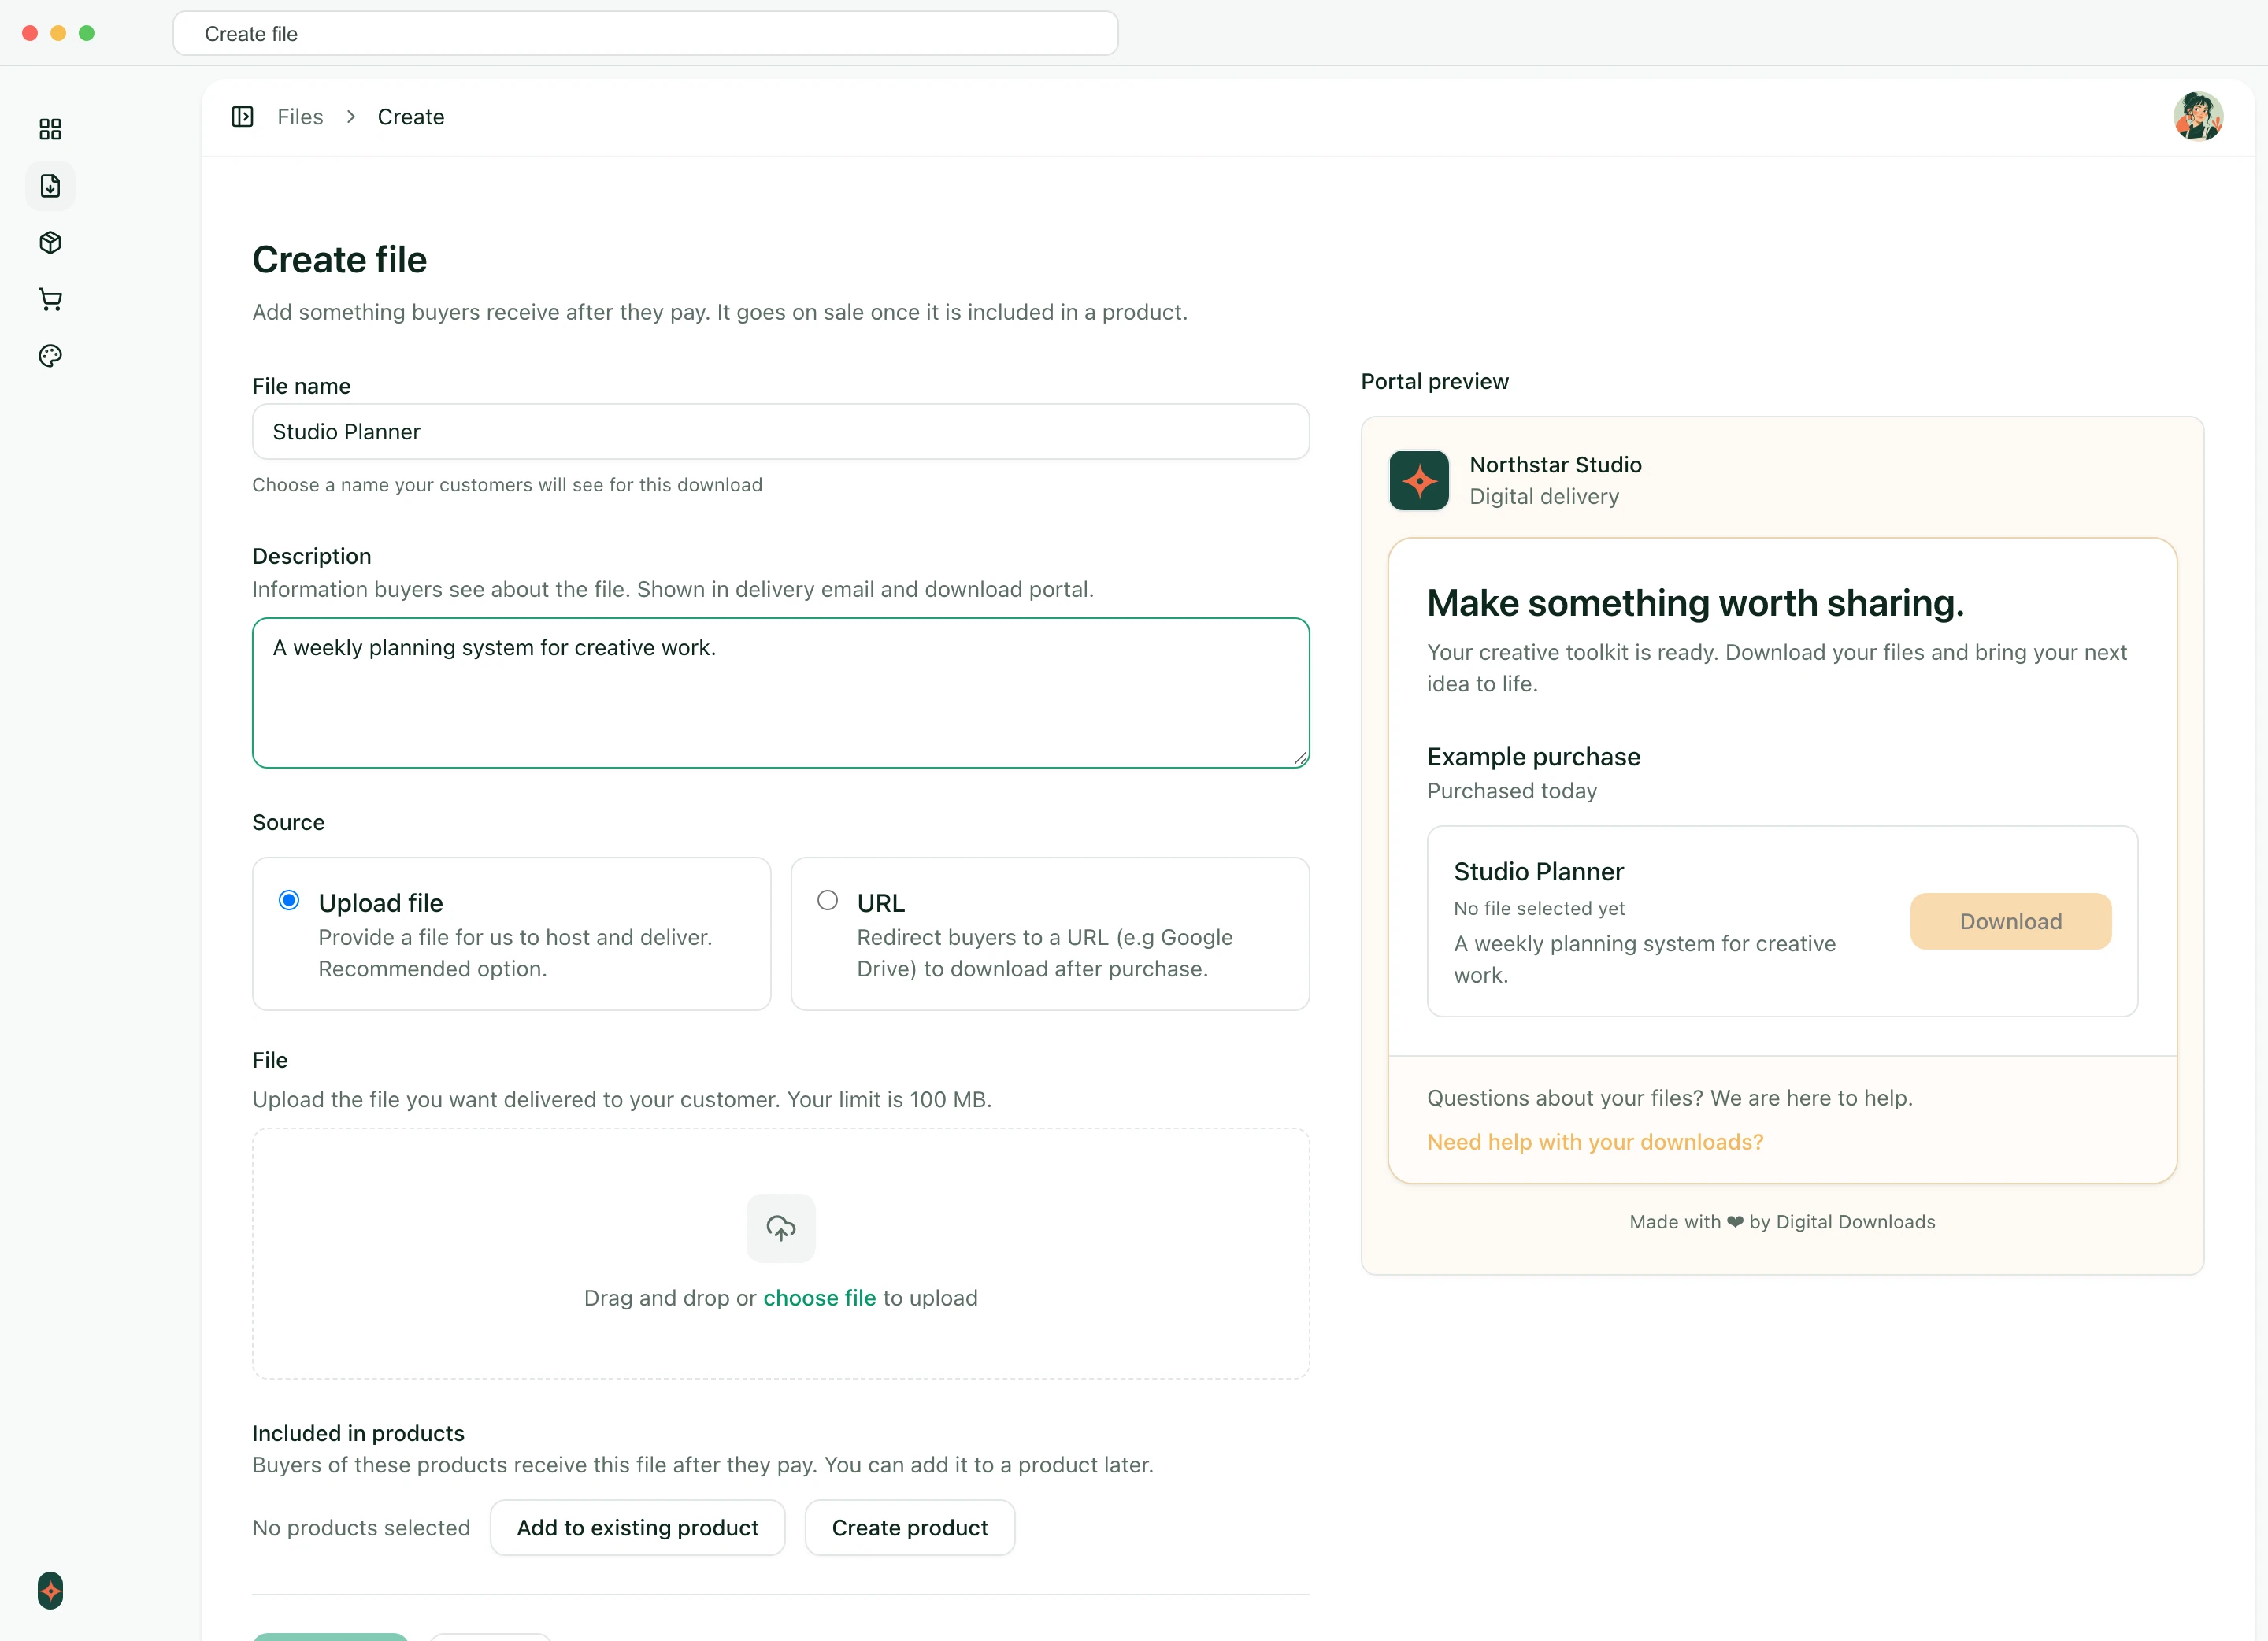
In DeliveryKit, open Files → Create file. Choose Upload file for a file DeliveryKit will host, or URL for a resource you host elsewhere. Add a clear name and description; both help the buyer recognize what they received. The Northstar example uses an editable worksheet and a getting-started guide, with separate entries for each.
2. Create the product and connect delivery
Next, create the Stripe product your buyers will purchase. The product describes what you sell; its price sets the amount and currency customers pay. DeliveryKit can create both in your connected Stripe account.
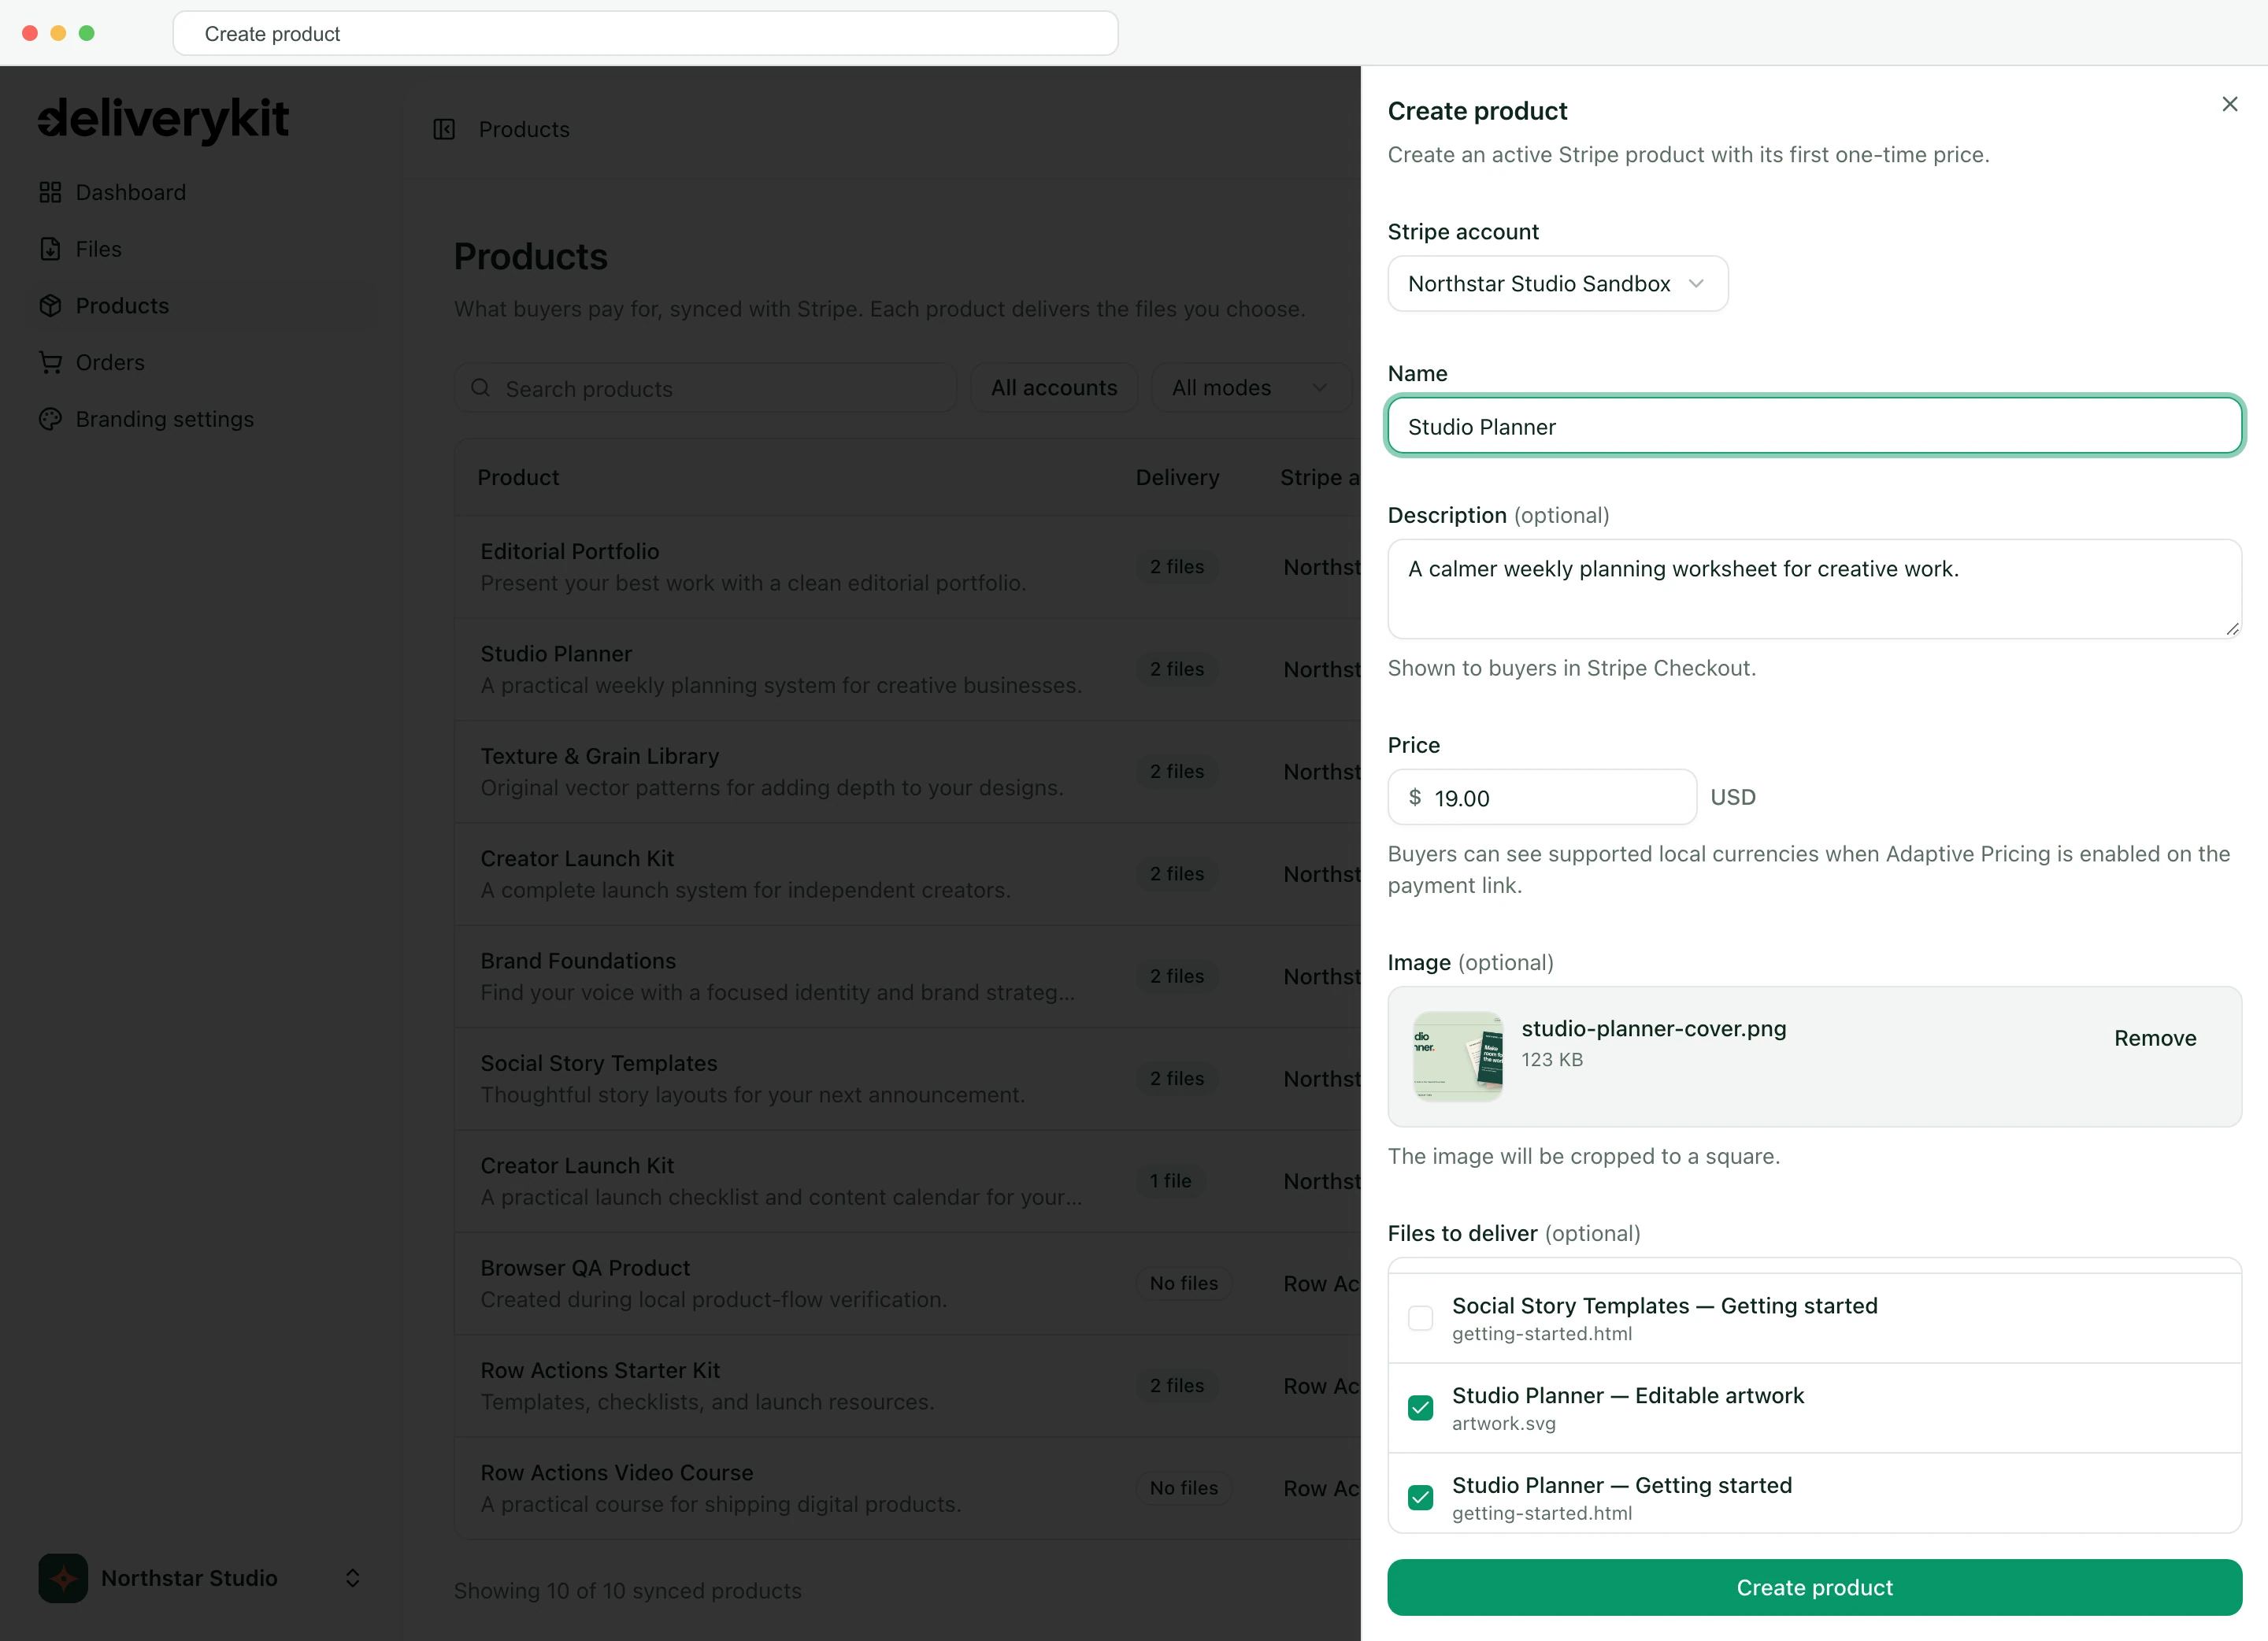
Open Products. If you have not connected Stripe yet, use Connect Stripe account first. Then choose Create product. Select your Stripe account (use its Sandbox account while testing), give the product a clear name and description, and enter the one-time price. Check the currency shown beside the amount. You can add a product image and select the files you created in step 1 before choosing Create product.
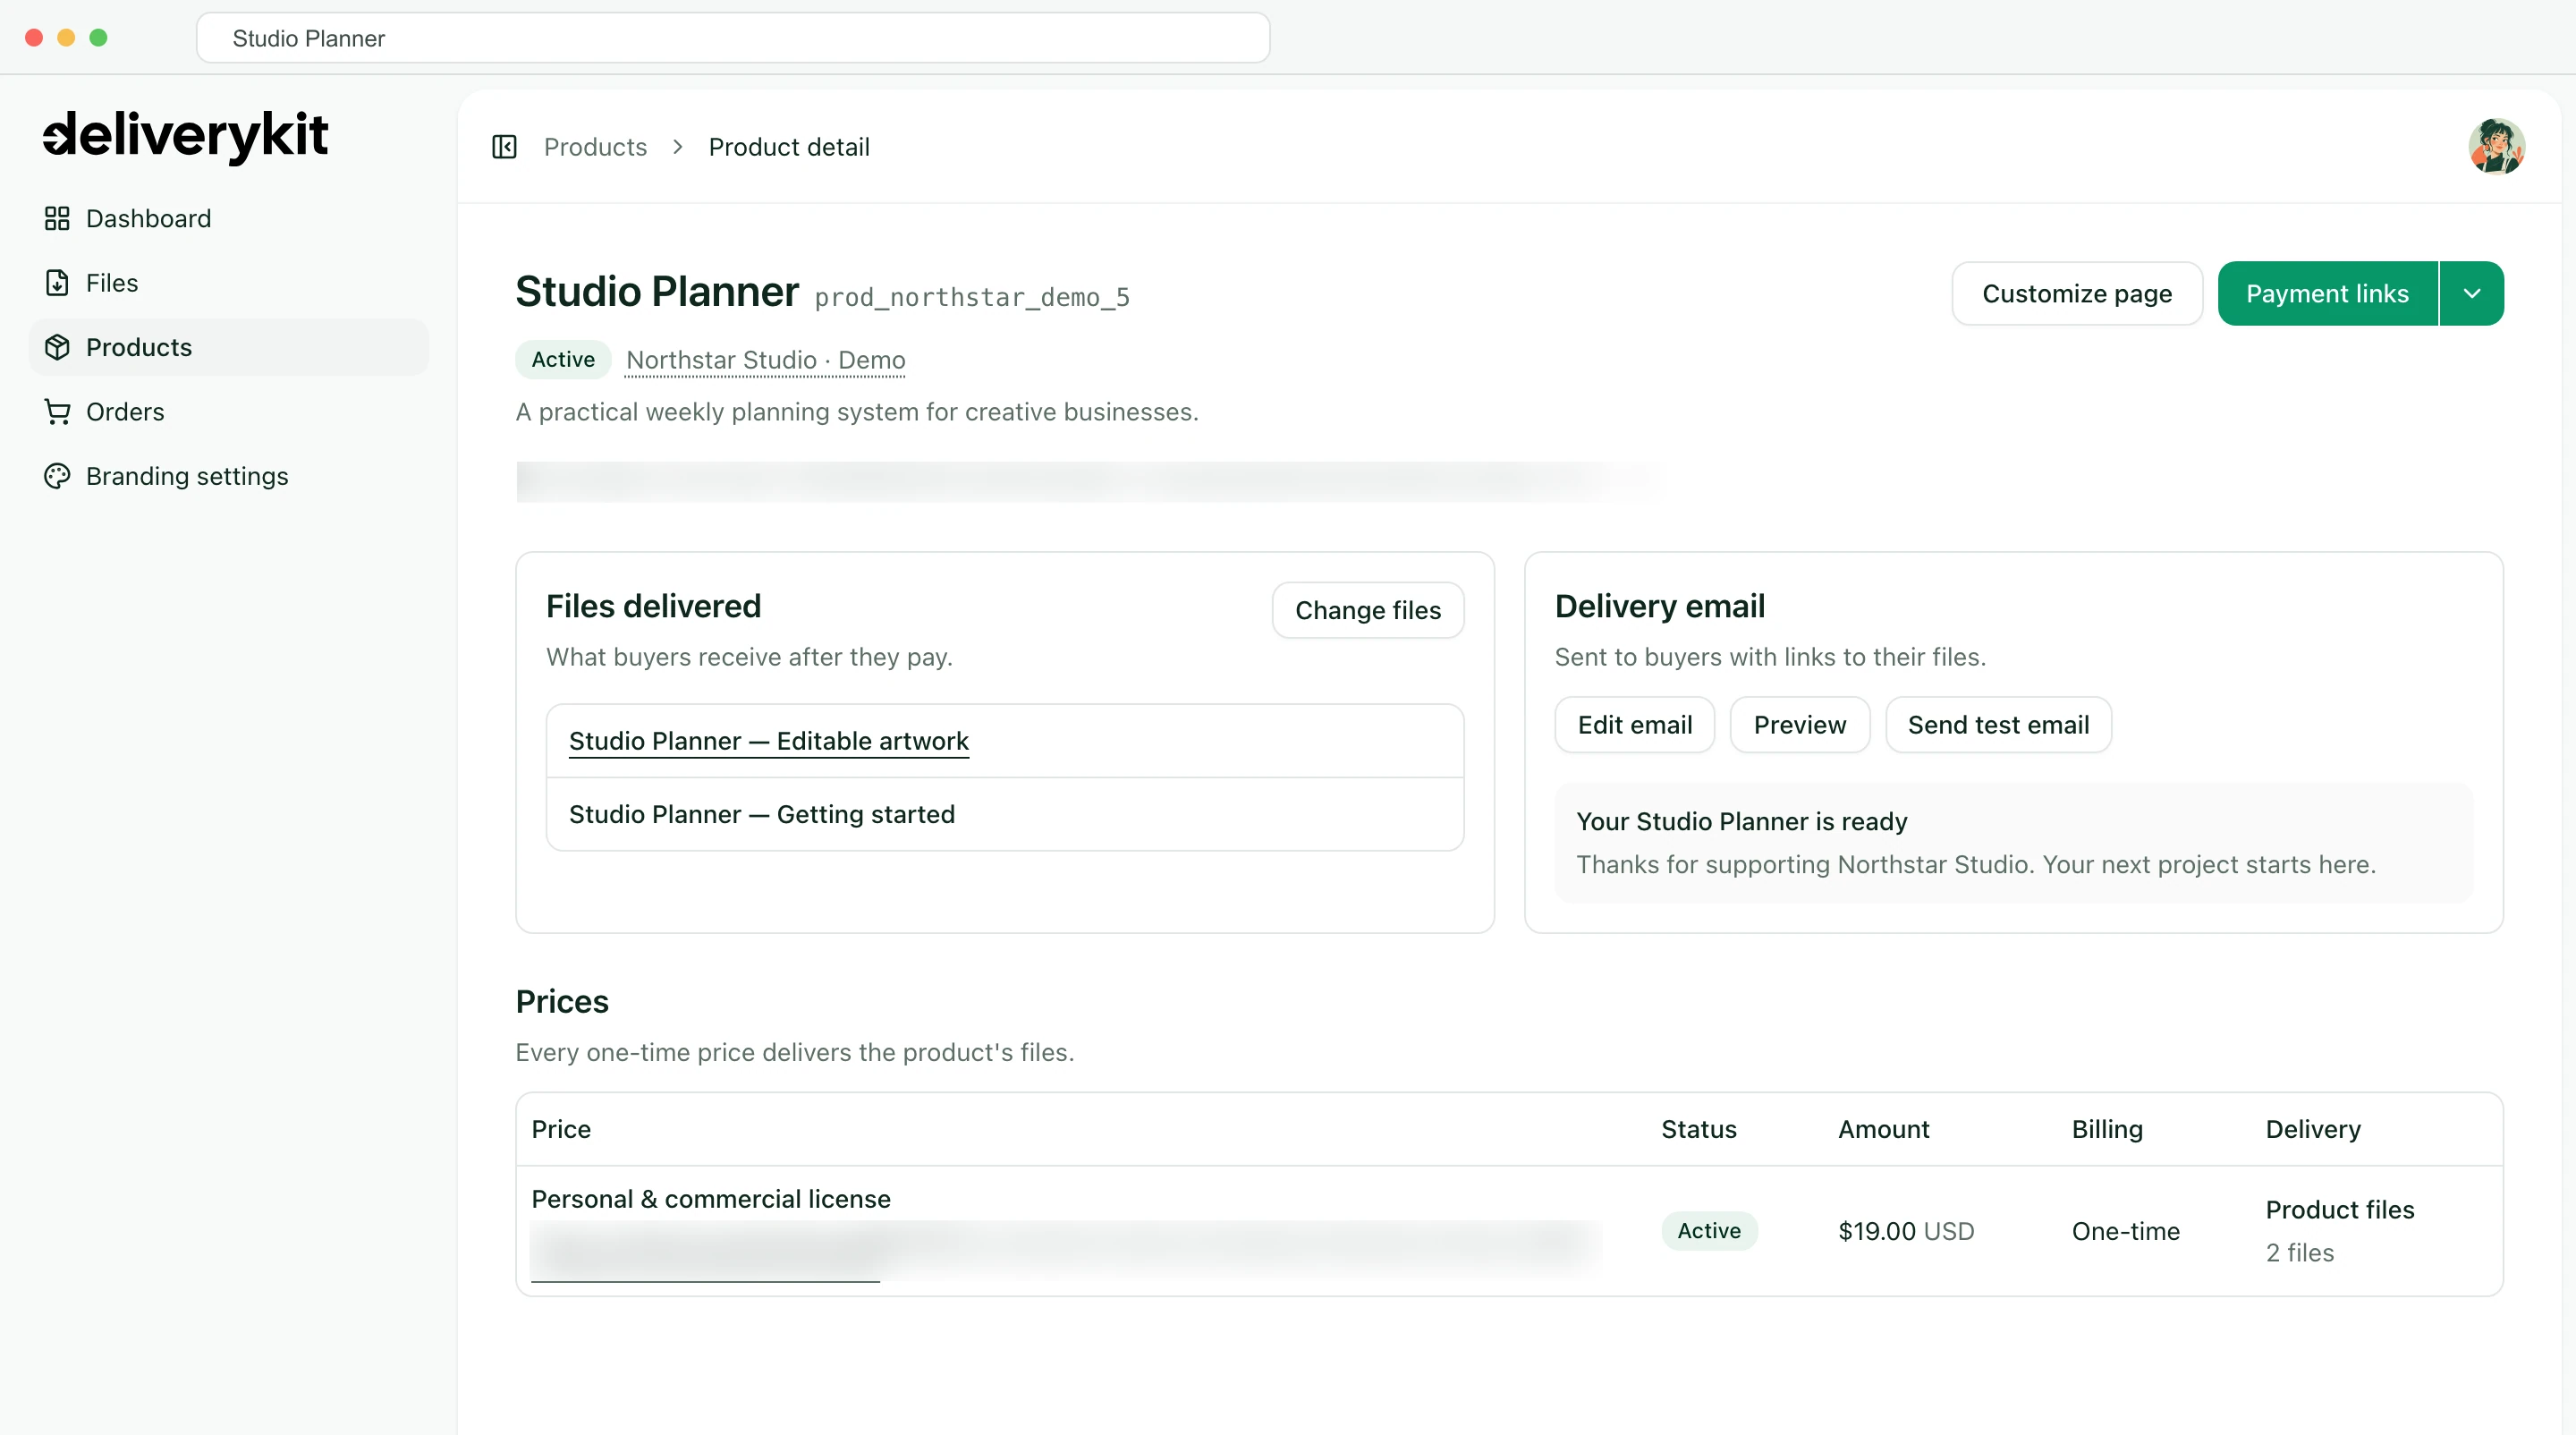
After you create it, DeliveryKit opens the product detail page. Under Files delivered, check the list against your sales copy: if you promise a worksheet and a guide, both should be there. The Delivery email panel lets you review the title and introduction buyers will see.
3. Choose how you’ll sell
Decide where buyers should learn about the product before they pay. You can share a product page hosted by DeliveryKit, or send buyers from a page on your own website straight to checkout. Both use the same files and one-time price you set up above.
On the product detail page, open Payment links and choose Create for the one-time price. If a link already exists, choose Copy. The product and price must be active, the price must have a fixed amount, and the product must have files or resource links attached. Use this DeliveryKit checkout link for either selling route; a Payment Link made separately in the Stripe Dashboard is not interchangeable.
No website? Share your product page
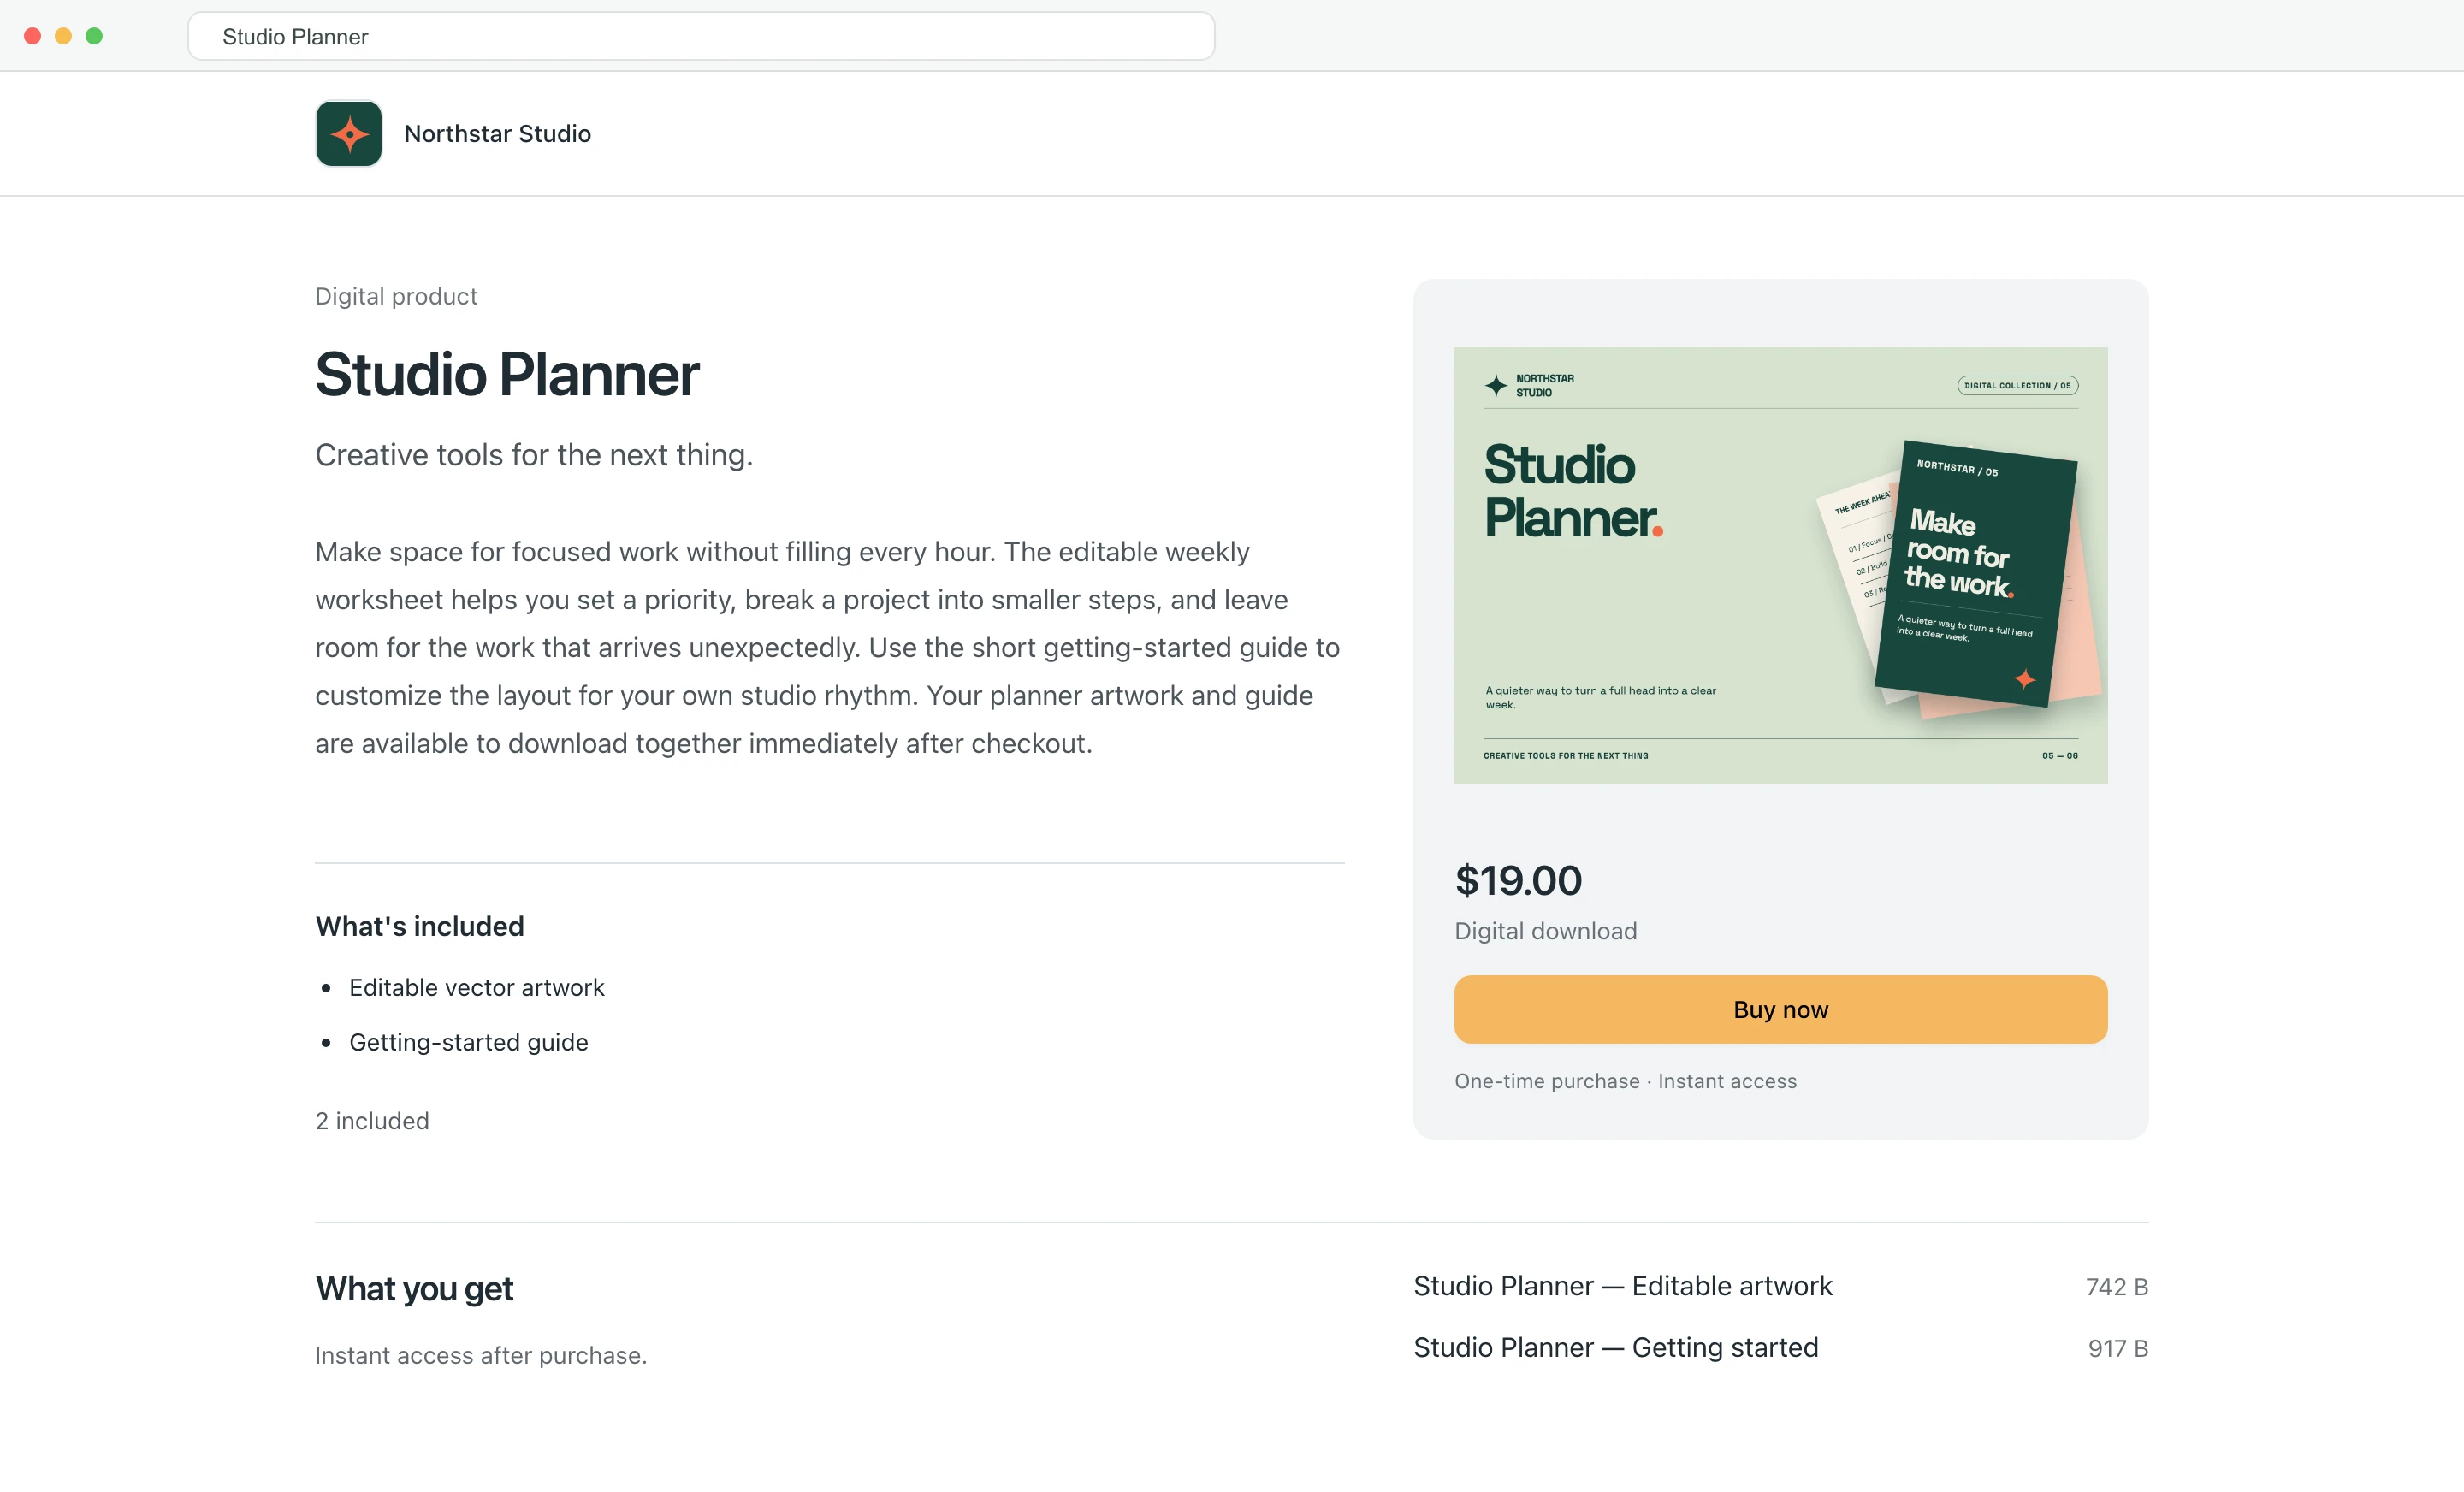
Choose Customize page to tell buyers what they are getting and why they should buy it. Show the product image, explain what the files help them do, and name the formats and items included. Check the one-time price, then choose Save changes and copy the product page link from the product detail screen.
Have a website? Link your buy button to checkout
Keep the product description on your own site and paste the DeliveryKit checkout link into its Buy now button. For example, in Webflow, select a Button and set its link type to URL in Element settings → Link settings, then paste the checkout link. A buyer who clicks it goes straight to Stripe Checkout. Webflow’s button guide shows where to edit that link.
Whichever route you choose, open the published page or button yourself and confirm it leads to the right product and price before you share it.
4. Check the buyer experience
You can check the delivery email without making a purchase. On the product detail page, choose Preview under Delivery email, or Send test email to receive a copy at your DeliveryKit account address. Check the subject, file names, support address, and branding. The email below shows what a buyer receives.
If you want to see the full checkout journey, use this product’s Sandbox link with a Stripe test card and an email address you can access. Then open the delivery email and download each file from the portal. You do not need a separate sample product or a real charge. Stripe prohibits live-mode testing with a real card, even if you refund the payment afterward.
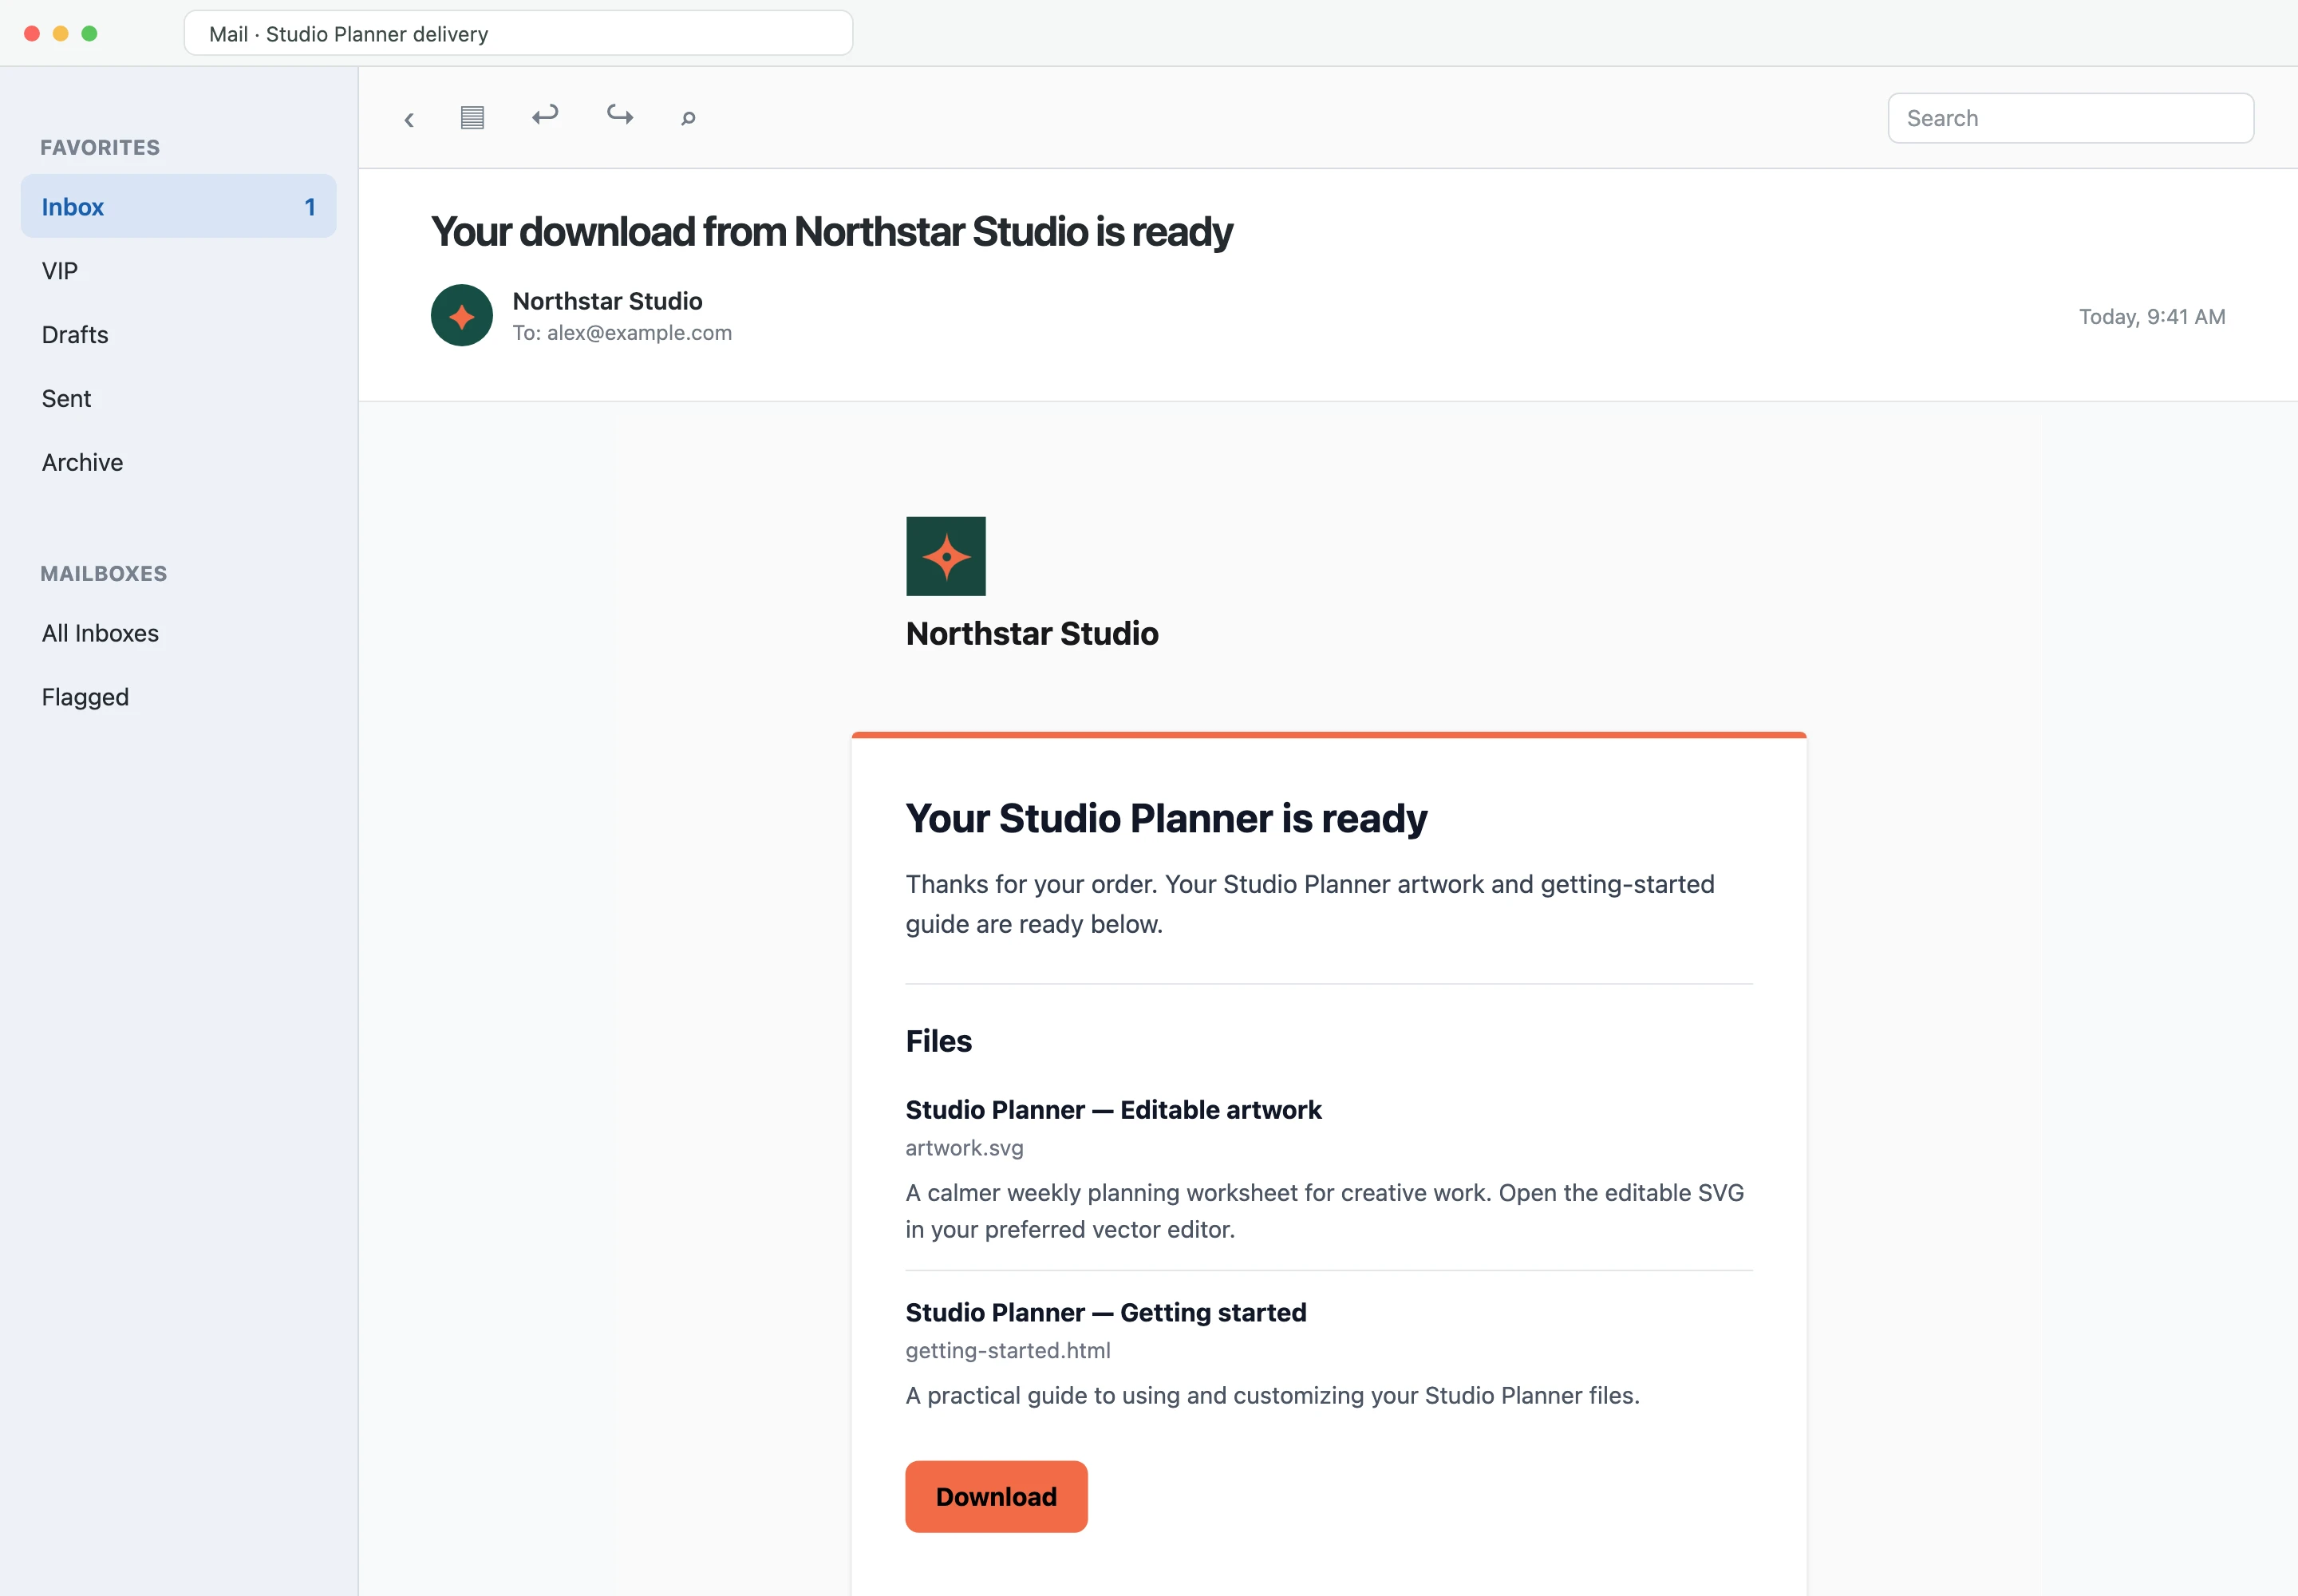
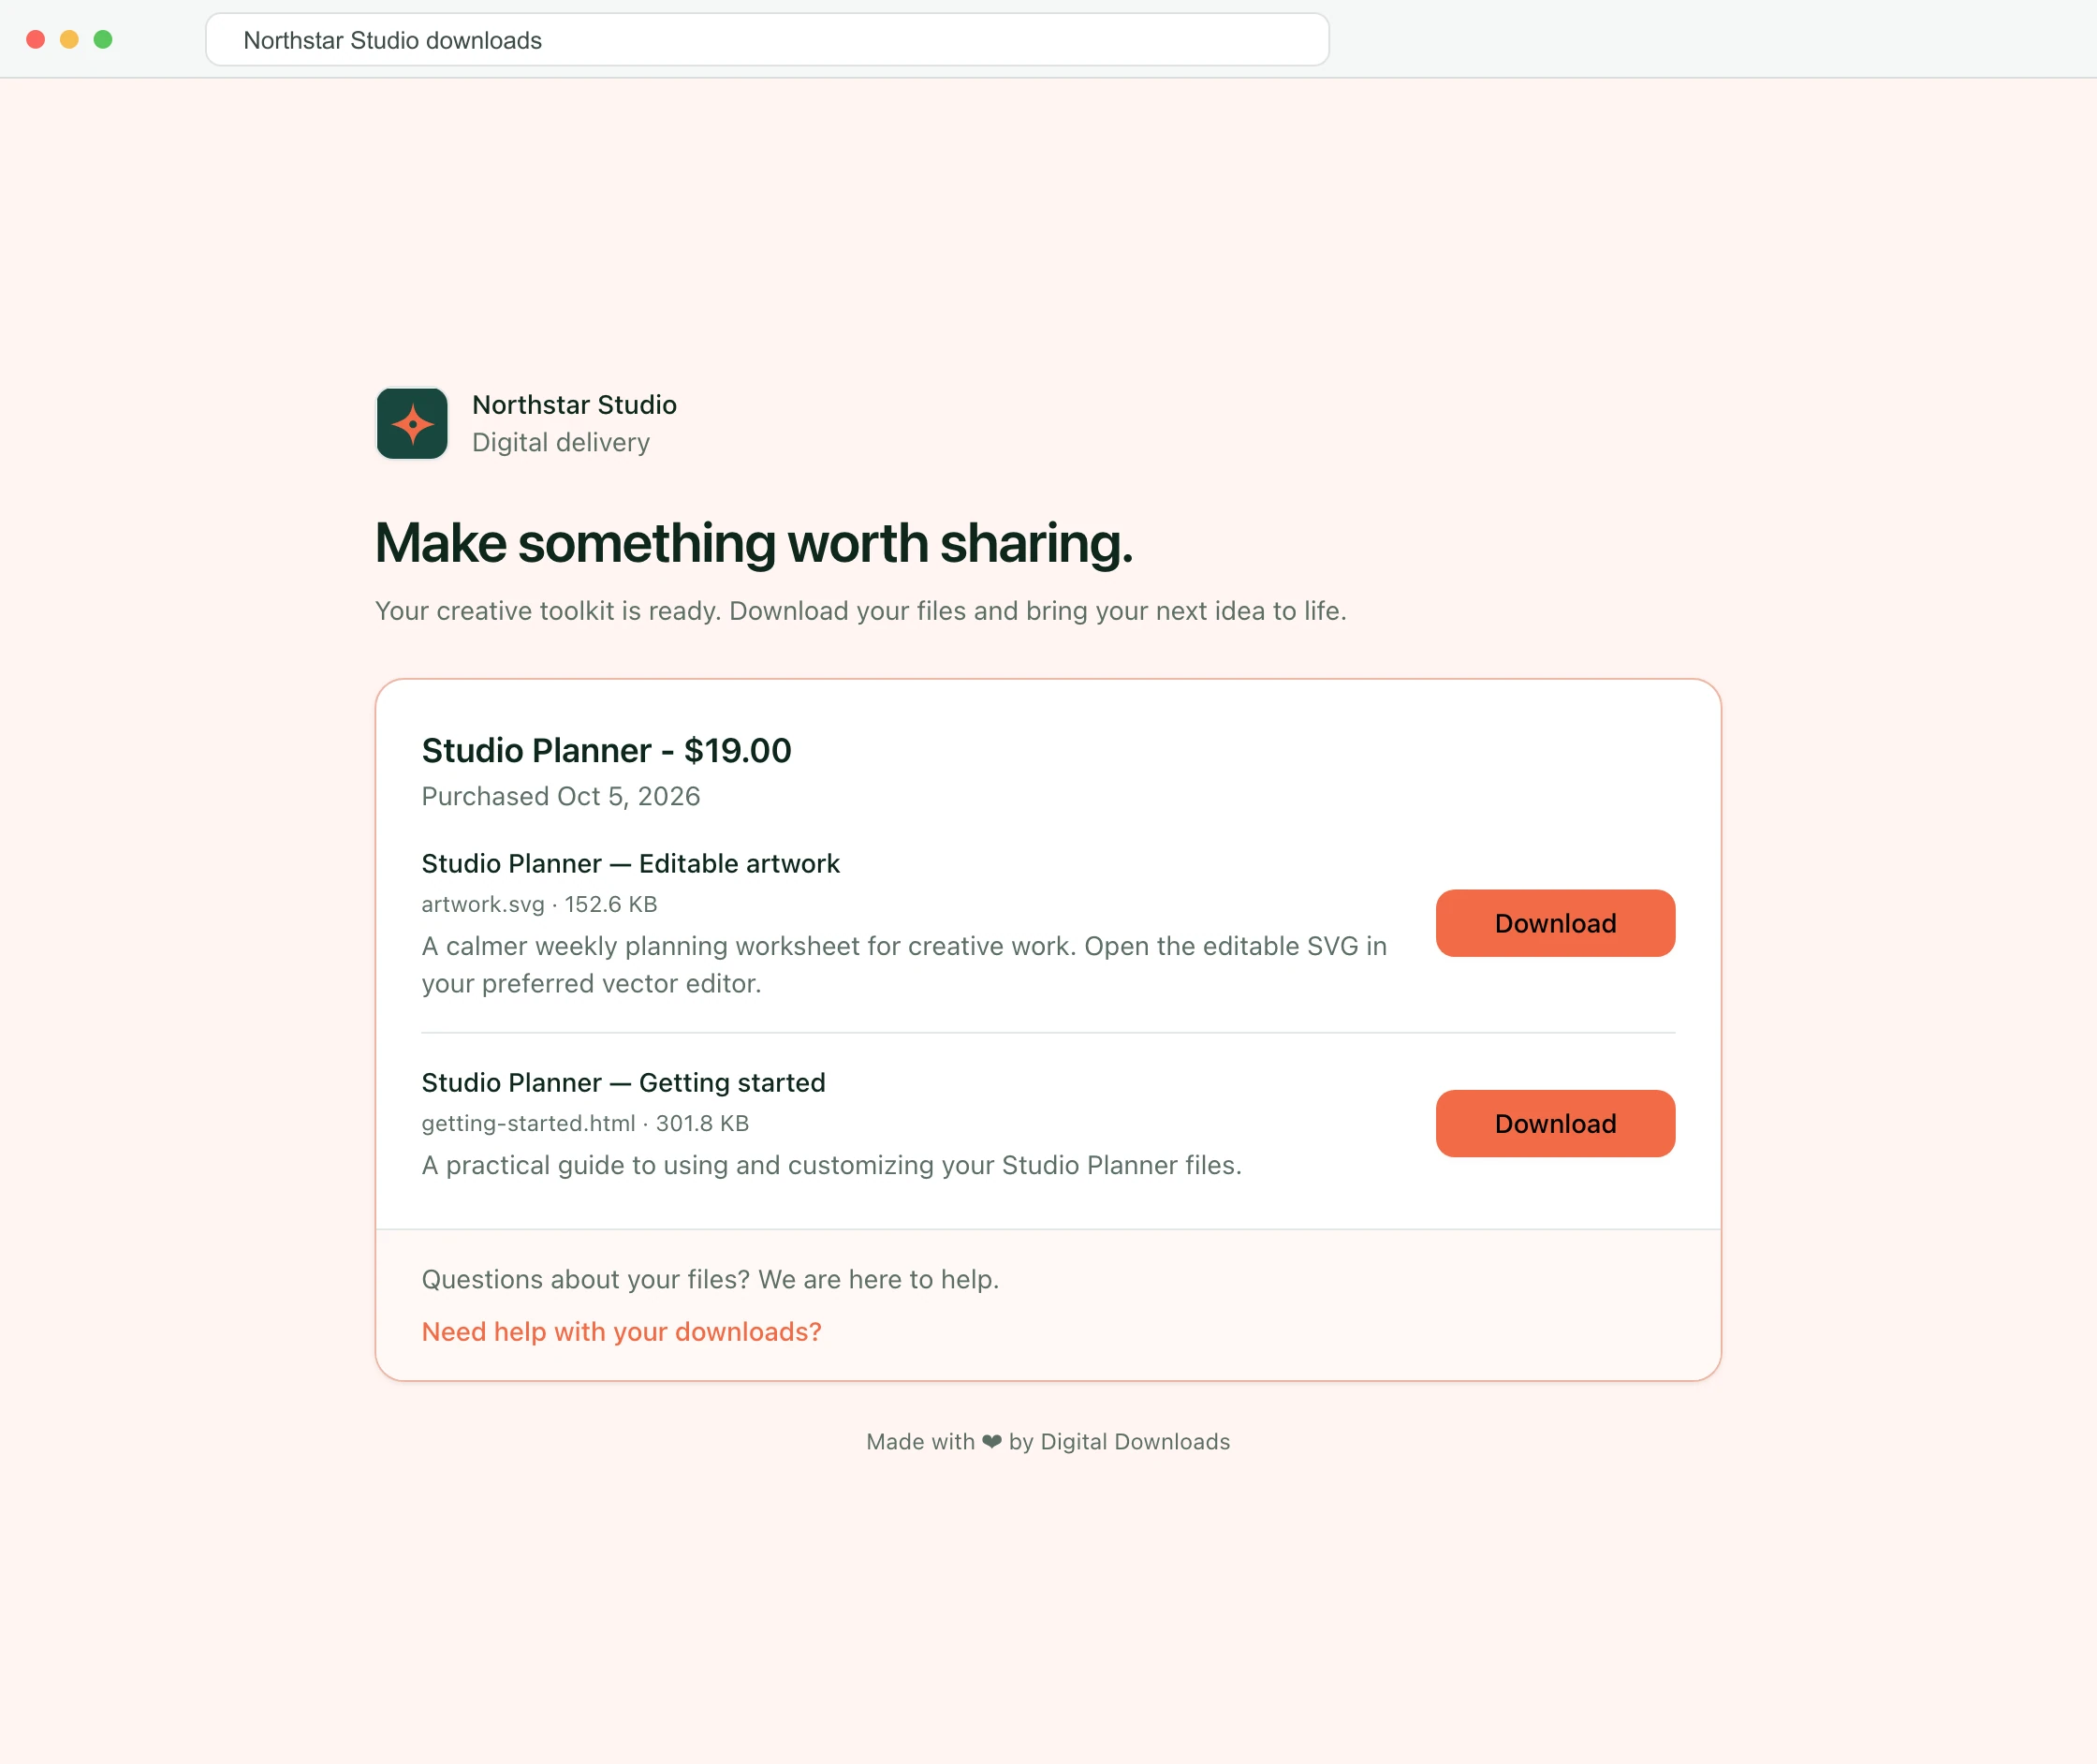
Follow the download link in the email to see what the buyer opens next. The portal shows the purchased product, then gives each included file its own description and Download button. In the Northstar example, the editable Studio Planner artwork and getting-started guide are ready in one place.
What happens after a real payment?
Once Stripe confirms payment, DeliveryKit sends the customer an email linking to their resource portal. The portal collects the files and links included with that purchase, so the buyer can return to them while their access remains valid. If a buyer says they cannot find the email, check the order and address in your DeliveryKit dashboard; you can resend the delivery email from the order page.
Before launch, check that the live product has the right price and resources attached, then copy its live link. Test and live links are different; a successful test purchase does not turn a test link into a live one. Read the live product page once more as a buyer would, and make sure it tells them how to contact you for help.
You manage payments in your own Stripe account and remain responsible for the product description and customer support. For more about what buyers receive, see how customer downloads work.